创建您的第一个 Recipe
创建您的第一个 Recipe
安装好相机并连接到 OV80i 软件后,请按照以下步骤创建您的第一个 Recipe。
创建新 Recipe
步骤 1:进入 Recipe 创建
在 All Recipes 页面,点击右上角的 + New Recipe。
![]()
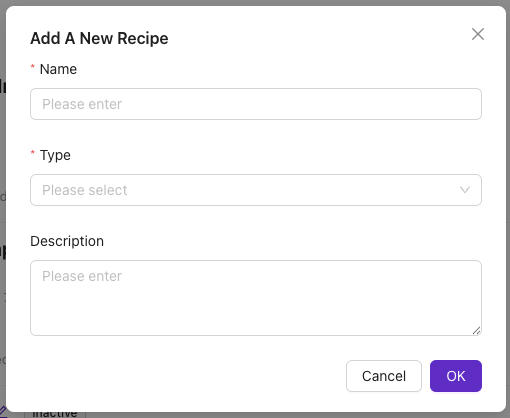
步骤 2:配置 Recipe 详情
将弹出 Add A New Recipe 模态窗口。
必填字段:
- Name - 输入 Recipe 名称(必填)。该名称将显示在 All Recipes 页面。
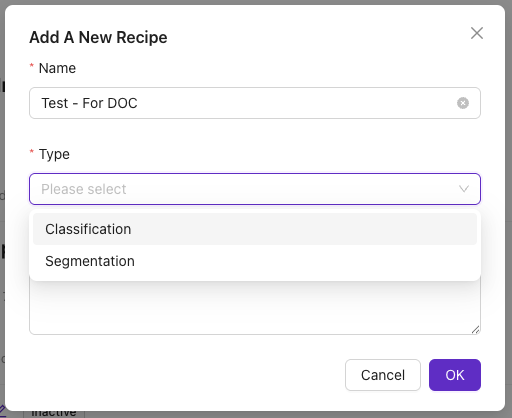
- Recipe Type - 从下拉菜单中选择 Recipe 类型(必填)。有关选择 Recipe 类型的帮助,请参见下文。
可选字段:
- Description - 输入 Recipe 描述(可选)。该描述将显示在 All Recipes 页面及 Recipe Editor 页面顶部。
步骤 3:完成创建
点击 OK 创建新 Recipe。
新 Recipe 将以非激活状态显示在 All Recipes 页面。
我应该选择 Classification 还是 Segmentation?
Classification Recipe:
创建 Classification Recipe 以训练深度学习模型,根据图像的视觉特征将其分类到不同类别。
Segmentation Recipe:
创建 Segmentation Recipe 以训练深度学习模型,对图像进行像素级的类别分割,基于标记的缺陷。通过像素级操作,该工具适用于需要更细粒度标签控制的检测。
打开 Recipe Editor
要编辑 Recipe,需先激活 Recipe。
激活步骤:
- 在 Recipe 右侧选择 Actions > Activate
- 点击 Activate 确认

- 点击 Edit 打开 Recipe Editor
- 点击 Open Editor 确认
![]()
💡 注意: 有关 Recipe Editor 的更多信息,请参见 [Recipe Editor]。
成像设置
本节将设置相机,以获得被检物体的清晰图像。
💡 注意: 成像设置对 Classification 和 Segmentation Recipe 均相同。
配置步骤:
- 点击页面左下方的 Configure Imaging
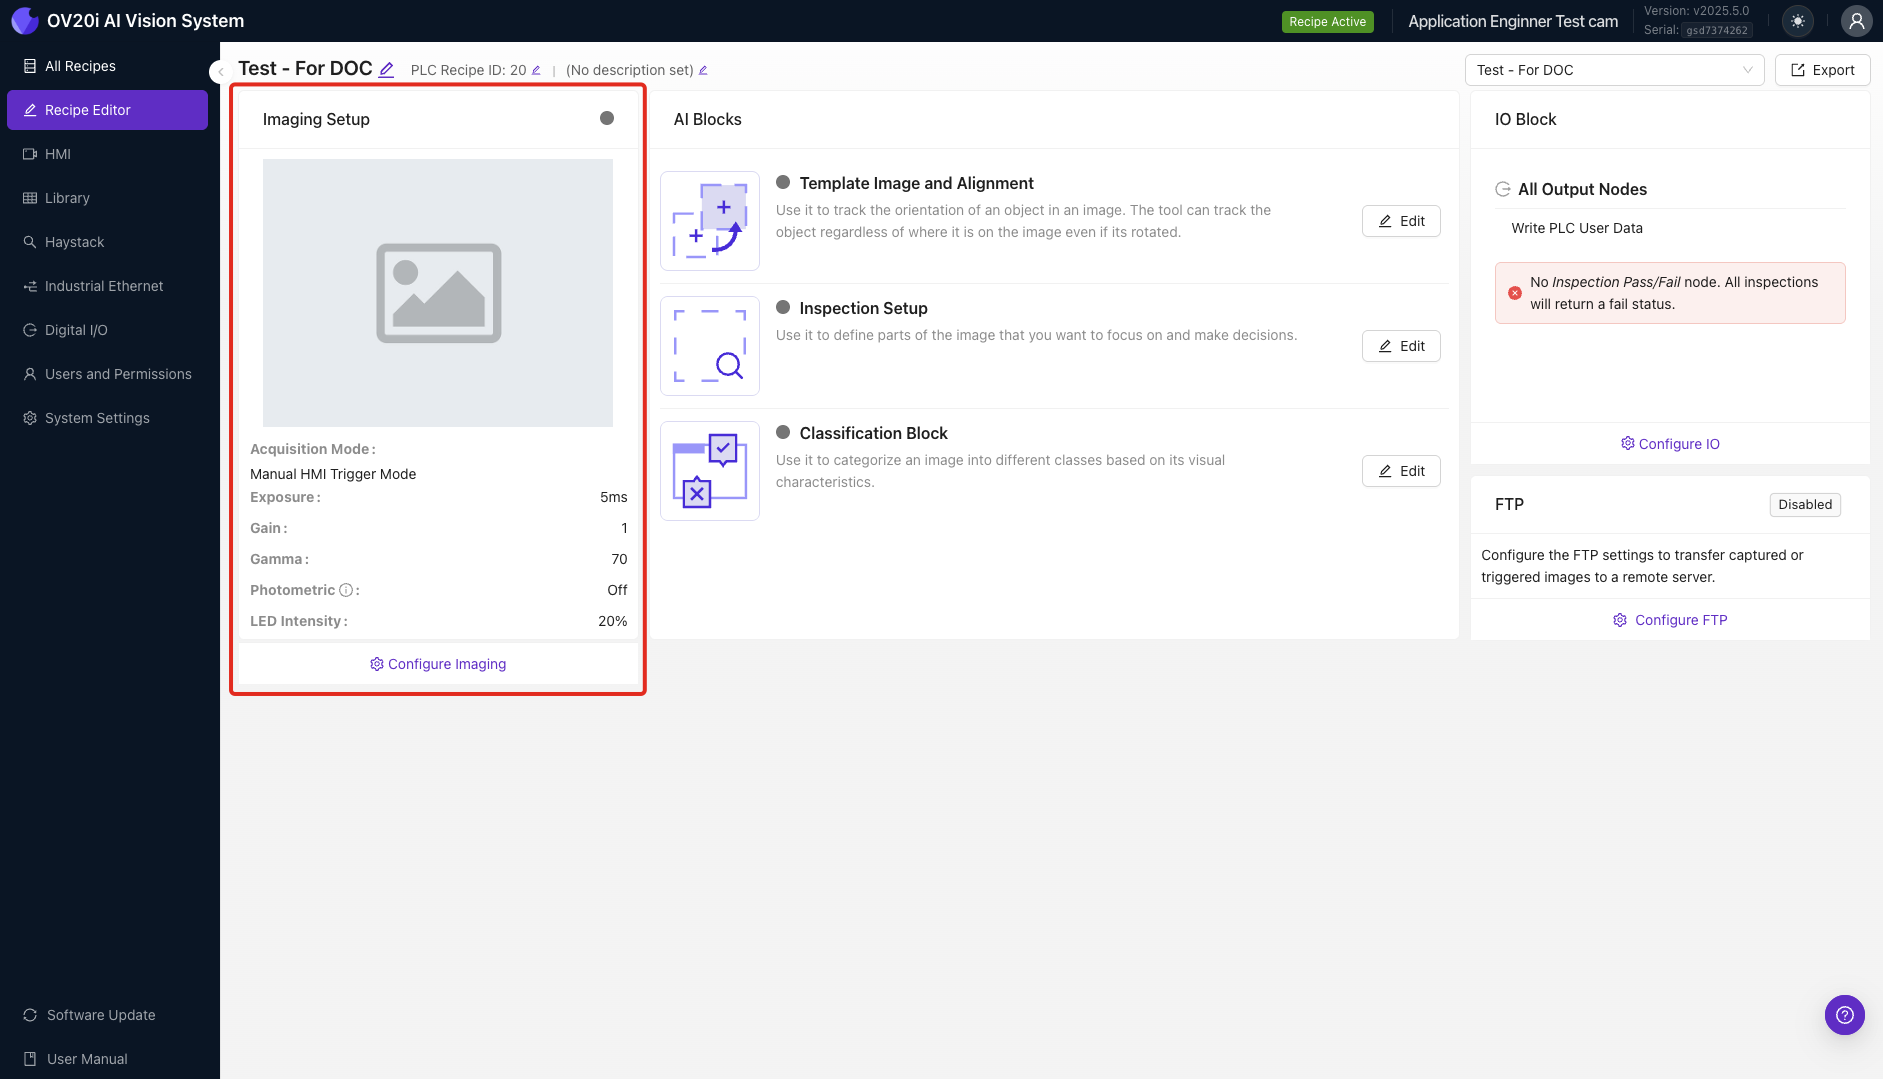
- 将被检物体置于相机视野内,使用实时预览确认物体在画面中
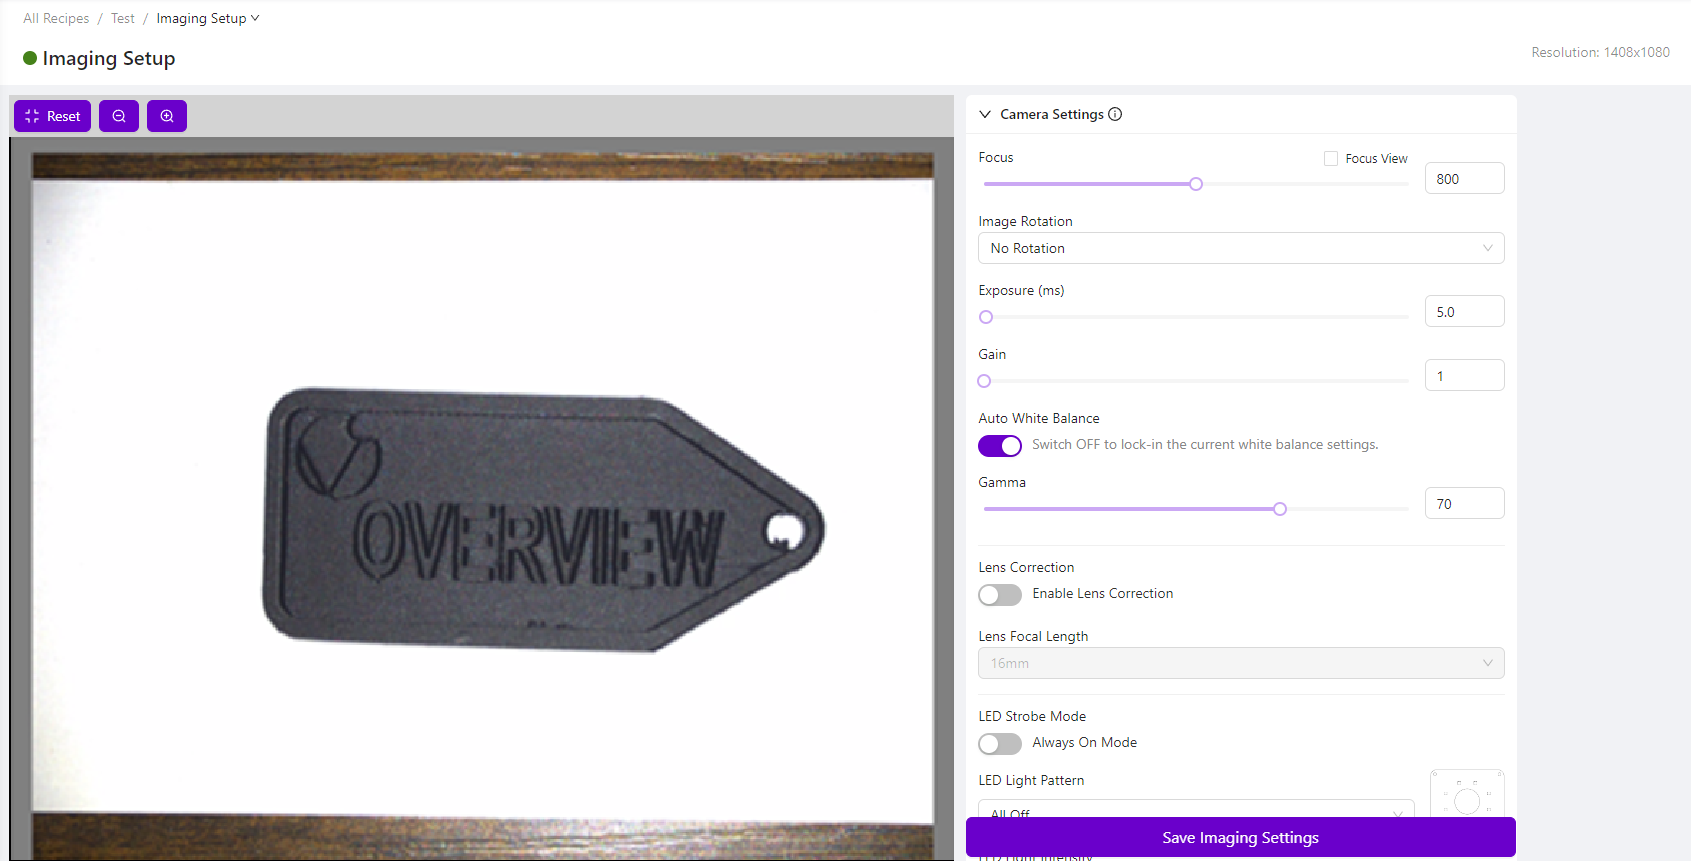
- 根据需要调整右侧的 Camera Settings,以获得清晰图像
- 点击页面右下方的 Save Imaging Settings
💡 更多信息: 有关成像设置选项的详细信息,请参见 Imaging Setup Fundamentals。
继续至 Template Image and Alignment。
模板图像与对齐
本节将捕获模板图像,并可选择配置对齐器。
💡 注意: 模板图像与对齐对 Classification 和 Segmentation Recipe 均相同。
步骤 1:导航至模板设置
在成像设置页面,使用面包屑菜单选择 Template Image and Alignment。或在 Recipe Editor 中选择 Template Image and Alignment。
![]()
步骤 2:捕获模板图像
选择 Capture Template Image。
💡 重要: 捕获模板图像后,左侧预览窗格将显示模板图像,而非相机视野的实时预览。若要查看相机实时预览,请向下滚动页面并选择 Live Preview Mode。若需重新拍摄模板图像,请确保未启用实时预览,然后点击 Re-Capture Template Image。
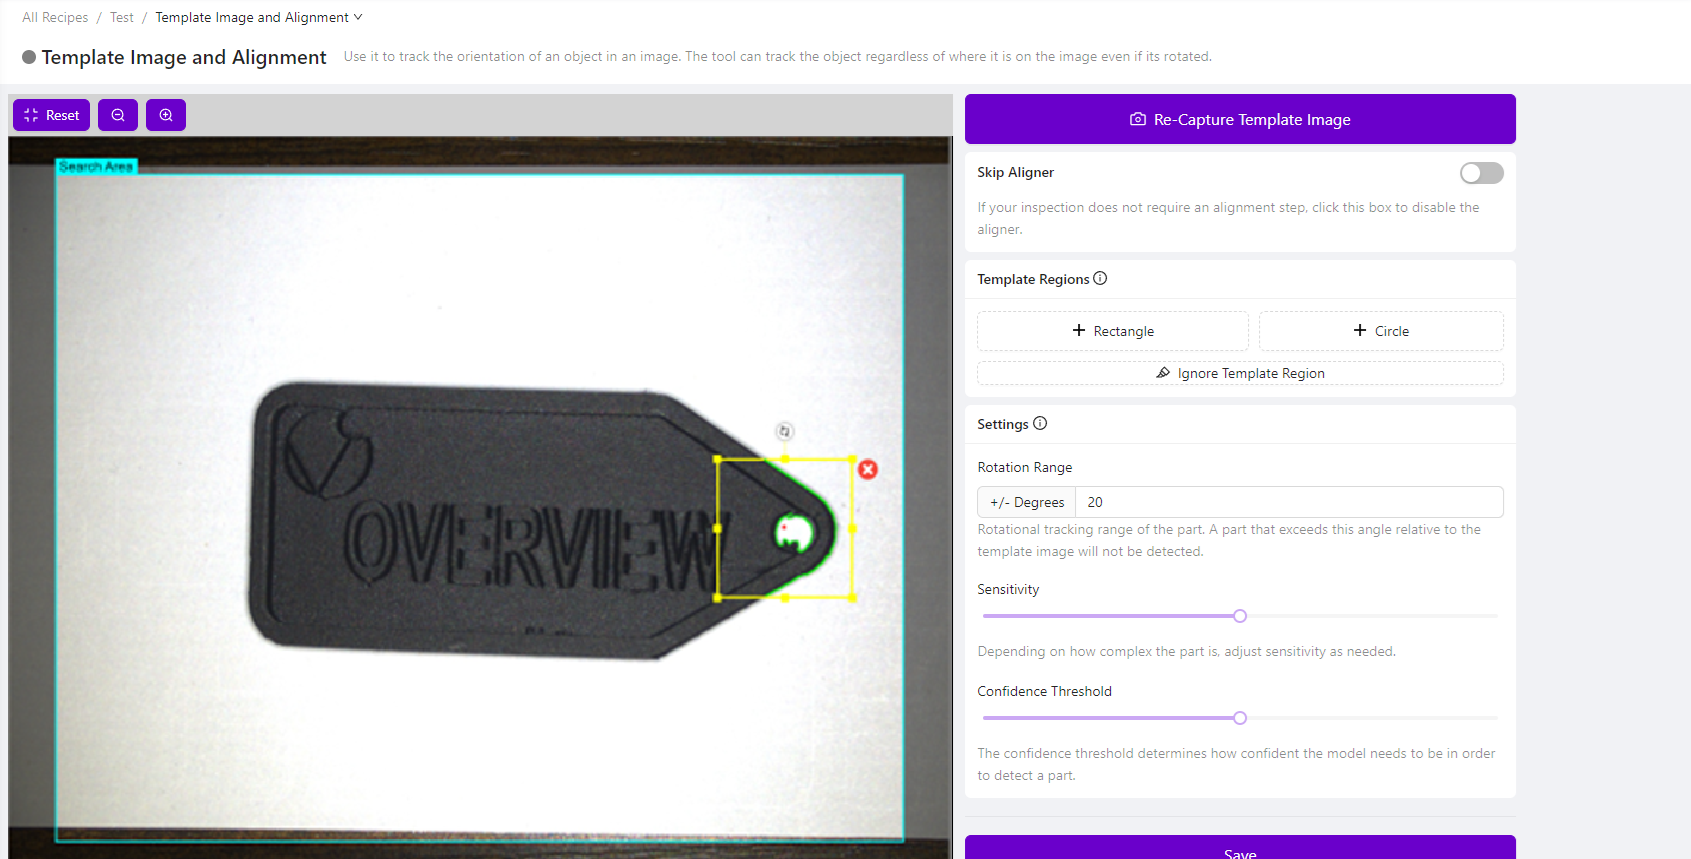
步骤 3:配置对齐器(可选)
如果需要对齐:
- 在 Template Regions 下,选择 + Rectangle 或 + Circle(根据被检物体形状选择)
- 调整区域位置和大小以适配被检物体
- 在 Settings 中,将 Rotation Range 设置为 20 度,允许对齐器定位相对于模板图像旋转不超过 20 度的物体
- 如有需要,调整 Sensitivity 和 Confidence Threshold
- 点击 Save
如果不需要对齐:
如果应用不需要对齐器,切换 Skip Aligner 选项,点击页面底部的 Save。
💡 更多信息: 有关模板图像与对齐页面的详细信息,请参见 [Template Image and Alignment]。
继续至 Inspection Setup。
检测设置
本节将配置相机的检测内容(Inspection Types)及检测区域(Inspection Regions)。
💡 注意: 检测设置对 Classification 和 Segmentation Recipe 均相同。
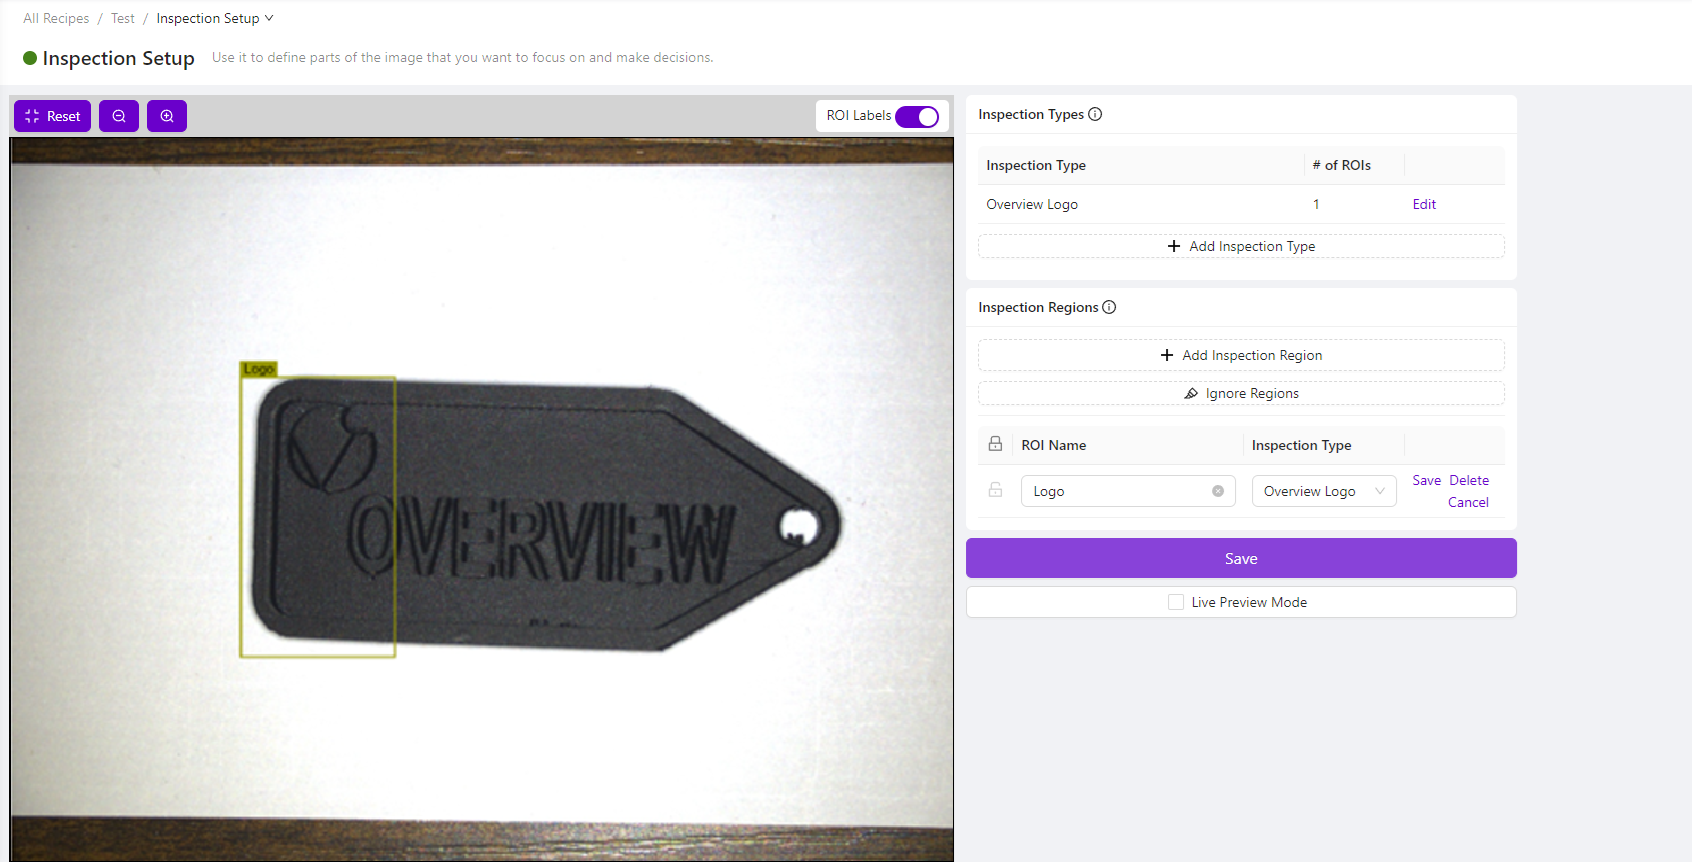
步骤 1:导航至检测设置
在模板图像与对齐页面,使用面包屑菜单选择 Inspection Setup。或在 Recipe Editor 中选择 Inspection Setup。
💡 预览说明: 左侧预览窗格显示模板图像,而非相机视野的实时预览。若要查看相机实时预览,请向下滚动页面并选择 Live Preview Mode。添加或编辑 Inspection Types 和 Inspection Regions 时,请确保未启用实时预览。
![]()
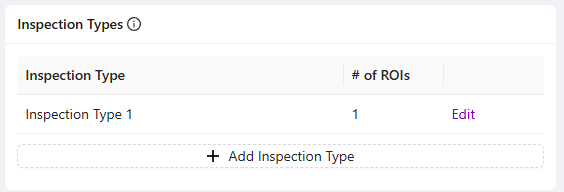
步骤 2:配置检测类型
默认显示 “Inspection Type 1”。点击 Edit 重命名。
💡 定义:
- Inspection Types 指执行的不同检测类型(类别),用于将视觉相似的 Inspection Regions(ROI)分组
- Inspection Regions (ROIs) 指应执行检测的区域
步骤 3:添加检测区域
- 在 Inspection Regions 下,点击 + Add Inspection Region
- 调整屏幕上的黄色框位置和大小,以覆盖您想检测的物体特定区域
💡 注意: 默认检测区域名称为 “New ROI”。点击 Edit 可更改名称。

步骤 4:完成设置
- 根据需要为该 Recipe 添加多个 Inspection Types 和 Inspection Regions
- 点击页面底部的 Save
💡 更多信息: 有关检测设置页面的详细信息,请参见 [Inspection Setup]。
后续步骤
如果您选择了 Classification Recipe 类型:
继续至 Creating Your First Classification Recipe。
如果您选择了 Segmentation Recipe 类型:
继续至 Using the Segmenter。